PELCO DS-NVs is a free 4-channel video recorder software
1. Assign a static IP address
Open server manager and select "Configure this local server"

and select "IPv4 address assigned by DHCP"

Then when the Network Connections open, right-click on Ethernet0 and select Properties.

In the Ethernet0 Properties window highlight "Internet Protocol Version 4 (TCP/IPv4)" then click the Properties button.

Now select the radio button "Use the following IP address" and enter in the correct IP, Subnet mask, and Default gateway that corresponds with your network setup. Then enter your Preferred and Alternate DNS server addresses.

Check Validate settings upon exit so Windows can find any problems with the addresses you entered. When you’re finished click OK and close Ethernet0 Properties window
2. Install .NET framework 3.5
Go to server manager select "Add roles and features"

Then when the add roles and features open, click "Next"

select "Role-based or feature-based installation", click "Next"

Selected your server in the server pool, click "Next"

On the server role screen, click "Next"

On the features screen select ".NET framework 3.5", click "Next"

On the confirmation screen if you have a warning message, select "Specify an alternate source path".

When alternate source path windows appear, insert windows server 2012 DVD or USB flash drive and go to windows explorer.

Go to DVD or USB drive for example "D:" go to folder "sources" and "sxs"

in address bar will show "D:\source\sxs" and copy to path, click "OK"

Click "install"

Wait until installation succeeded

3. Install PELCO Digital Sentry
Go to pelco web site and download PELCO Digital Sentry DSNVS
download "DS NVs Installer ....." software

When download finish extract a zip file you will have a installer software
select "setup"

click "Next"

Select "I accept ..." and click "Next"

Select "Recording and Viewing Software" and click "Next"

Select "Automatic ..." and click "Next"

Click "Install"

If you have a windows security question before install "Cap co" select "Install"

Windows server 2012 will ask you before install SQL server 2008, click "Run the program without getting help"

Wait until setup finish

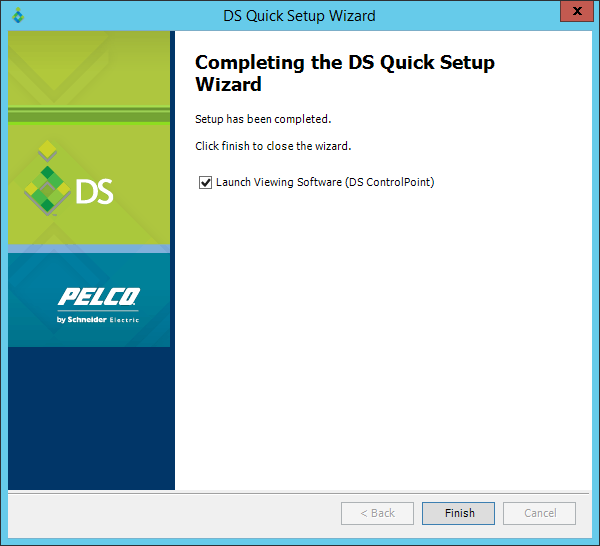
After setup finish the "DS Quick Setup Wizard" window will appear, click "Cancel"

4. Setting windows firewall
You will need to set the firewall.
Go to server manager, click "Tools" and select "Windows Firewall with Advanced Security"

On the left panel select Inbound rules, and on the right panel click "New inbound rule"

Select "Program", and click "Next"

Select "This program path", and click "browse"

Go to "C:\Program files (x86)\Pelco\DSQuickSetup" and select "DSQuickSetup.exe" and click "Open"

Click "Next"

Select "Allow the connection", and click "Next"

Select all and click "Next"

Type the name of rule and click "Finish"

On the left panel select outbound rules, and on the right panel click "New outbound rule"

Select "Program", and click "Next"

Select "This program path", and click "browse"
Go to "C:\Program files (x86)\Pelco\DSQuickSetup" and select "DSQuickSetup.exe" and click "Open"

Select "Allow the connection", and click "Next"

Select all and click "Next"

Type the name of rule and click "Finish"

5. Test by add some IP camera to DS-NVs software
Open "DS Quick Setup Wizard" on the desktop, and click "Next"

In the first time you have only "New setup ..." option, and click "Next"

In the computer setting screen it automatic fill in your computer name and IP address, and click "Next"

Select drive you want to record video to, and click "Next"

In the Recording Configuration you can select recording style you want, and click "Next"

This wizard will search all your camera in the network and show the supported camera.

Select camera you want, in Authentication tab enter the camera username and password

In the Recording tab select recording style you want, click "Next" to continue

click "Next" to confirm

It will ask you to change admin password, if you need to change click "Yes", if not click "No"

Wait until setting change finish, click "Next to continue

Finish you will lunch DS ControlPoint to view your video